Nest Hello Doorbell wiring with DETA C3500 / C3501 Chime UK
May 7, 2019 | How To | 41 Comments

Just writing up this post because I struggled to find good information on how to wire up the Nest Hello Doorbell with a common UK chime box the DETA C3500. Please note I’m not an electrician, just a normal guy that is pretty decent at some basic DIY. Make sure you seek advice of your own if you don’t know what you are doing.
There were some instructions online that showed how to wire up the Nest with different chimes and some instructions bypassing the chime box completely. I wanted to see if I could try and keep my existing chime box without having to fork out for a new one.
You obviously have your existing door chime box and the Nest Hello but additionally, items I used for my installation:
- Some 1mm cable
- Some 2-way cable connectors
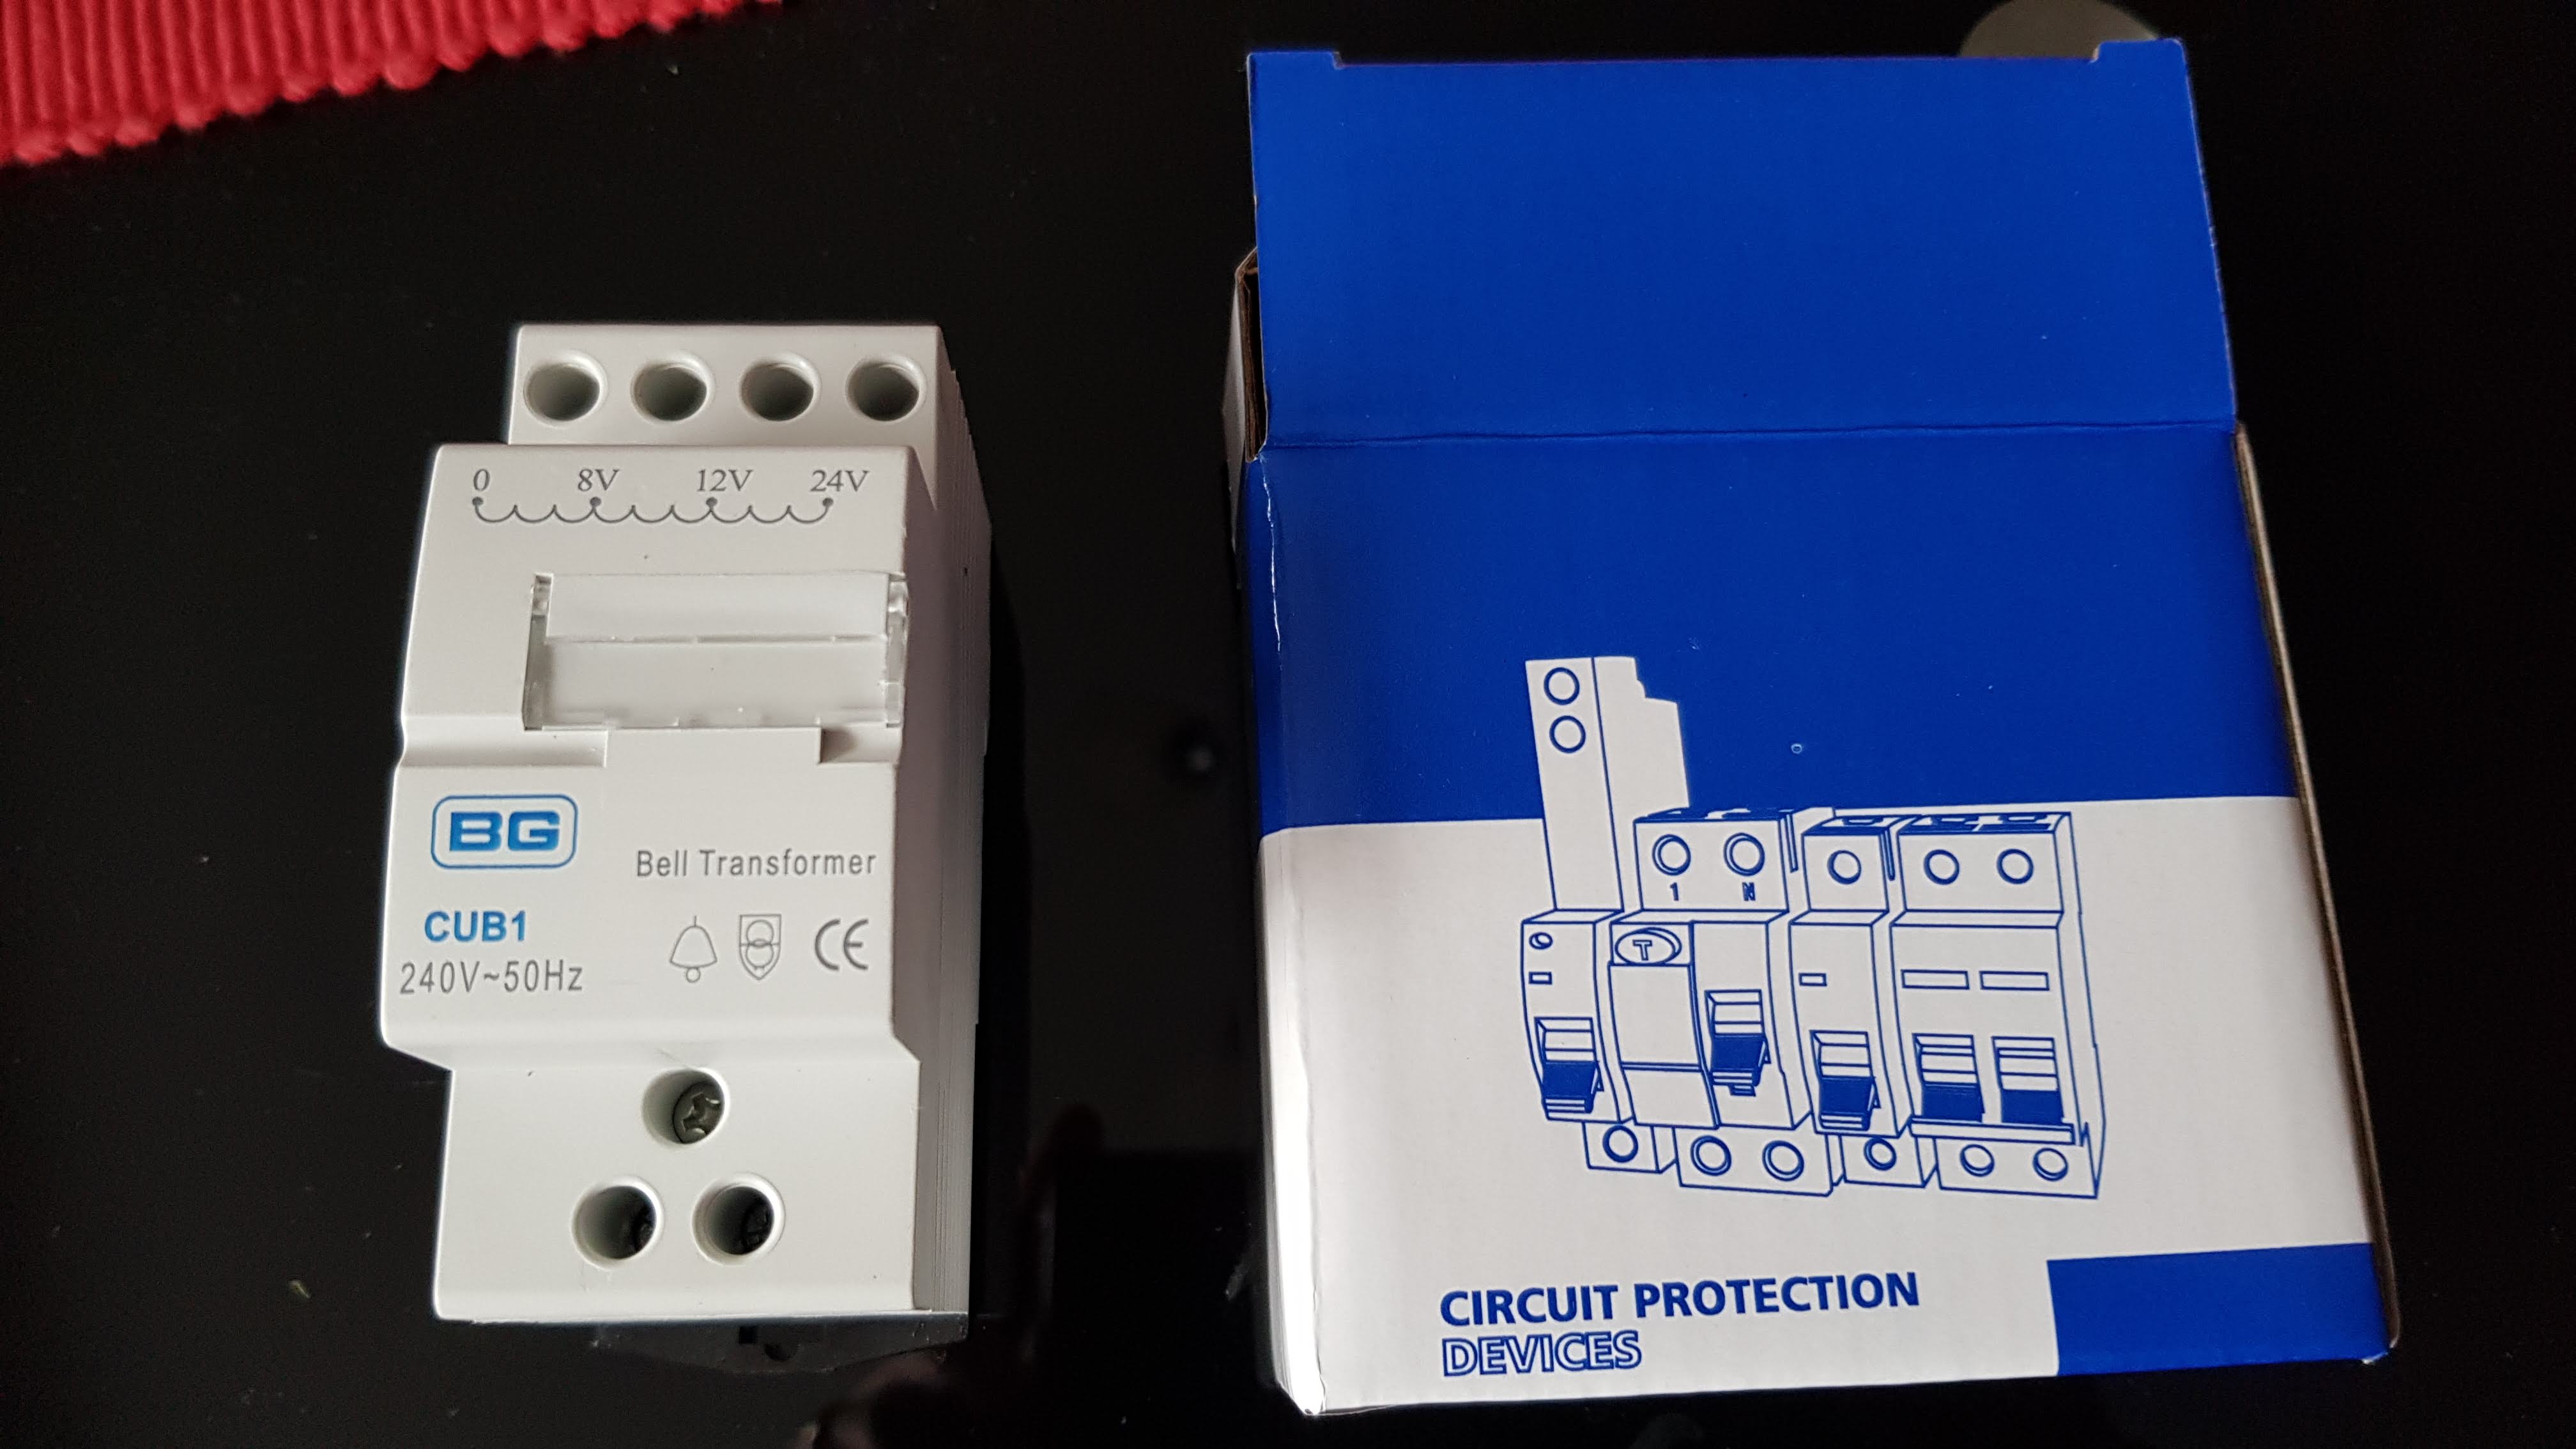
- British General 8-24V 8VA Bell Transformer Module (Screwfix or Amazon links)
- Surface Mounted Fuse Box
The transformer you require must be able to supply at a minimum of 12v to be able to power the camera. I got mines from Screwfix, link to it is above.
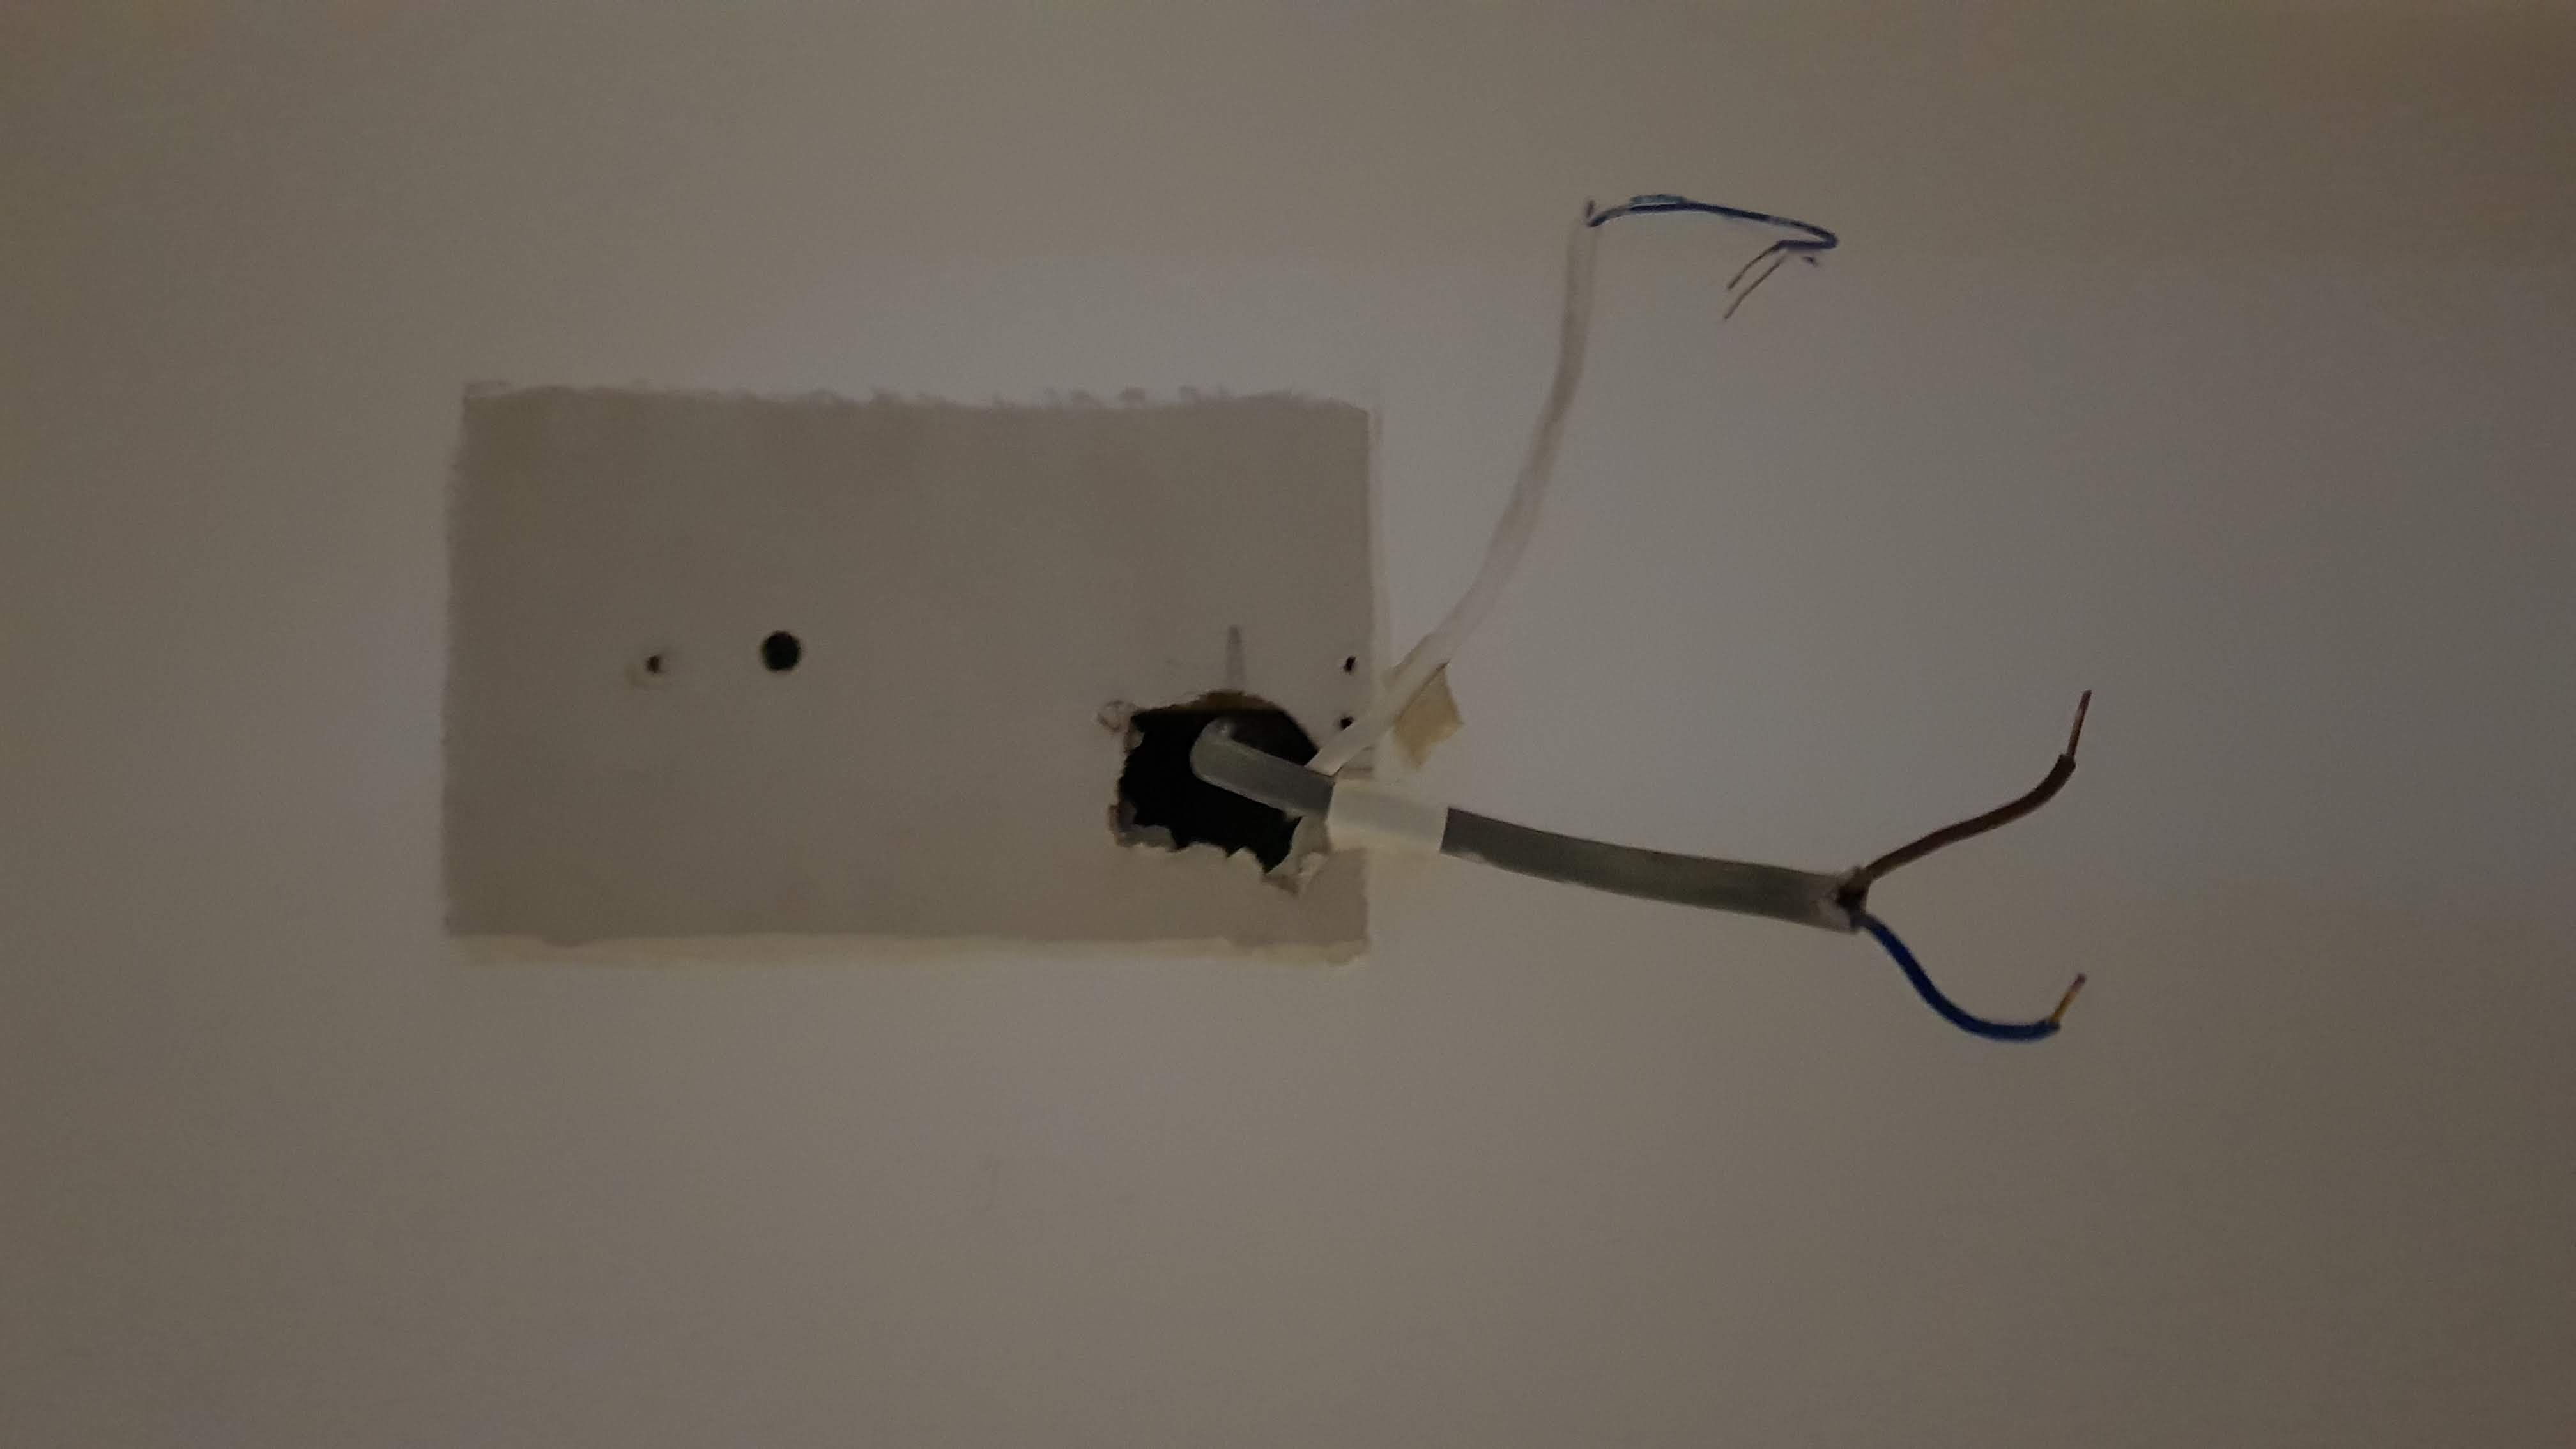
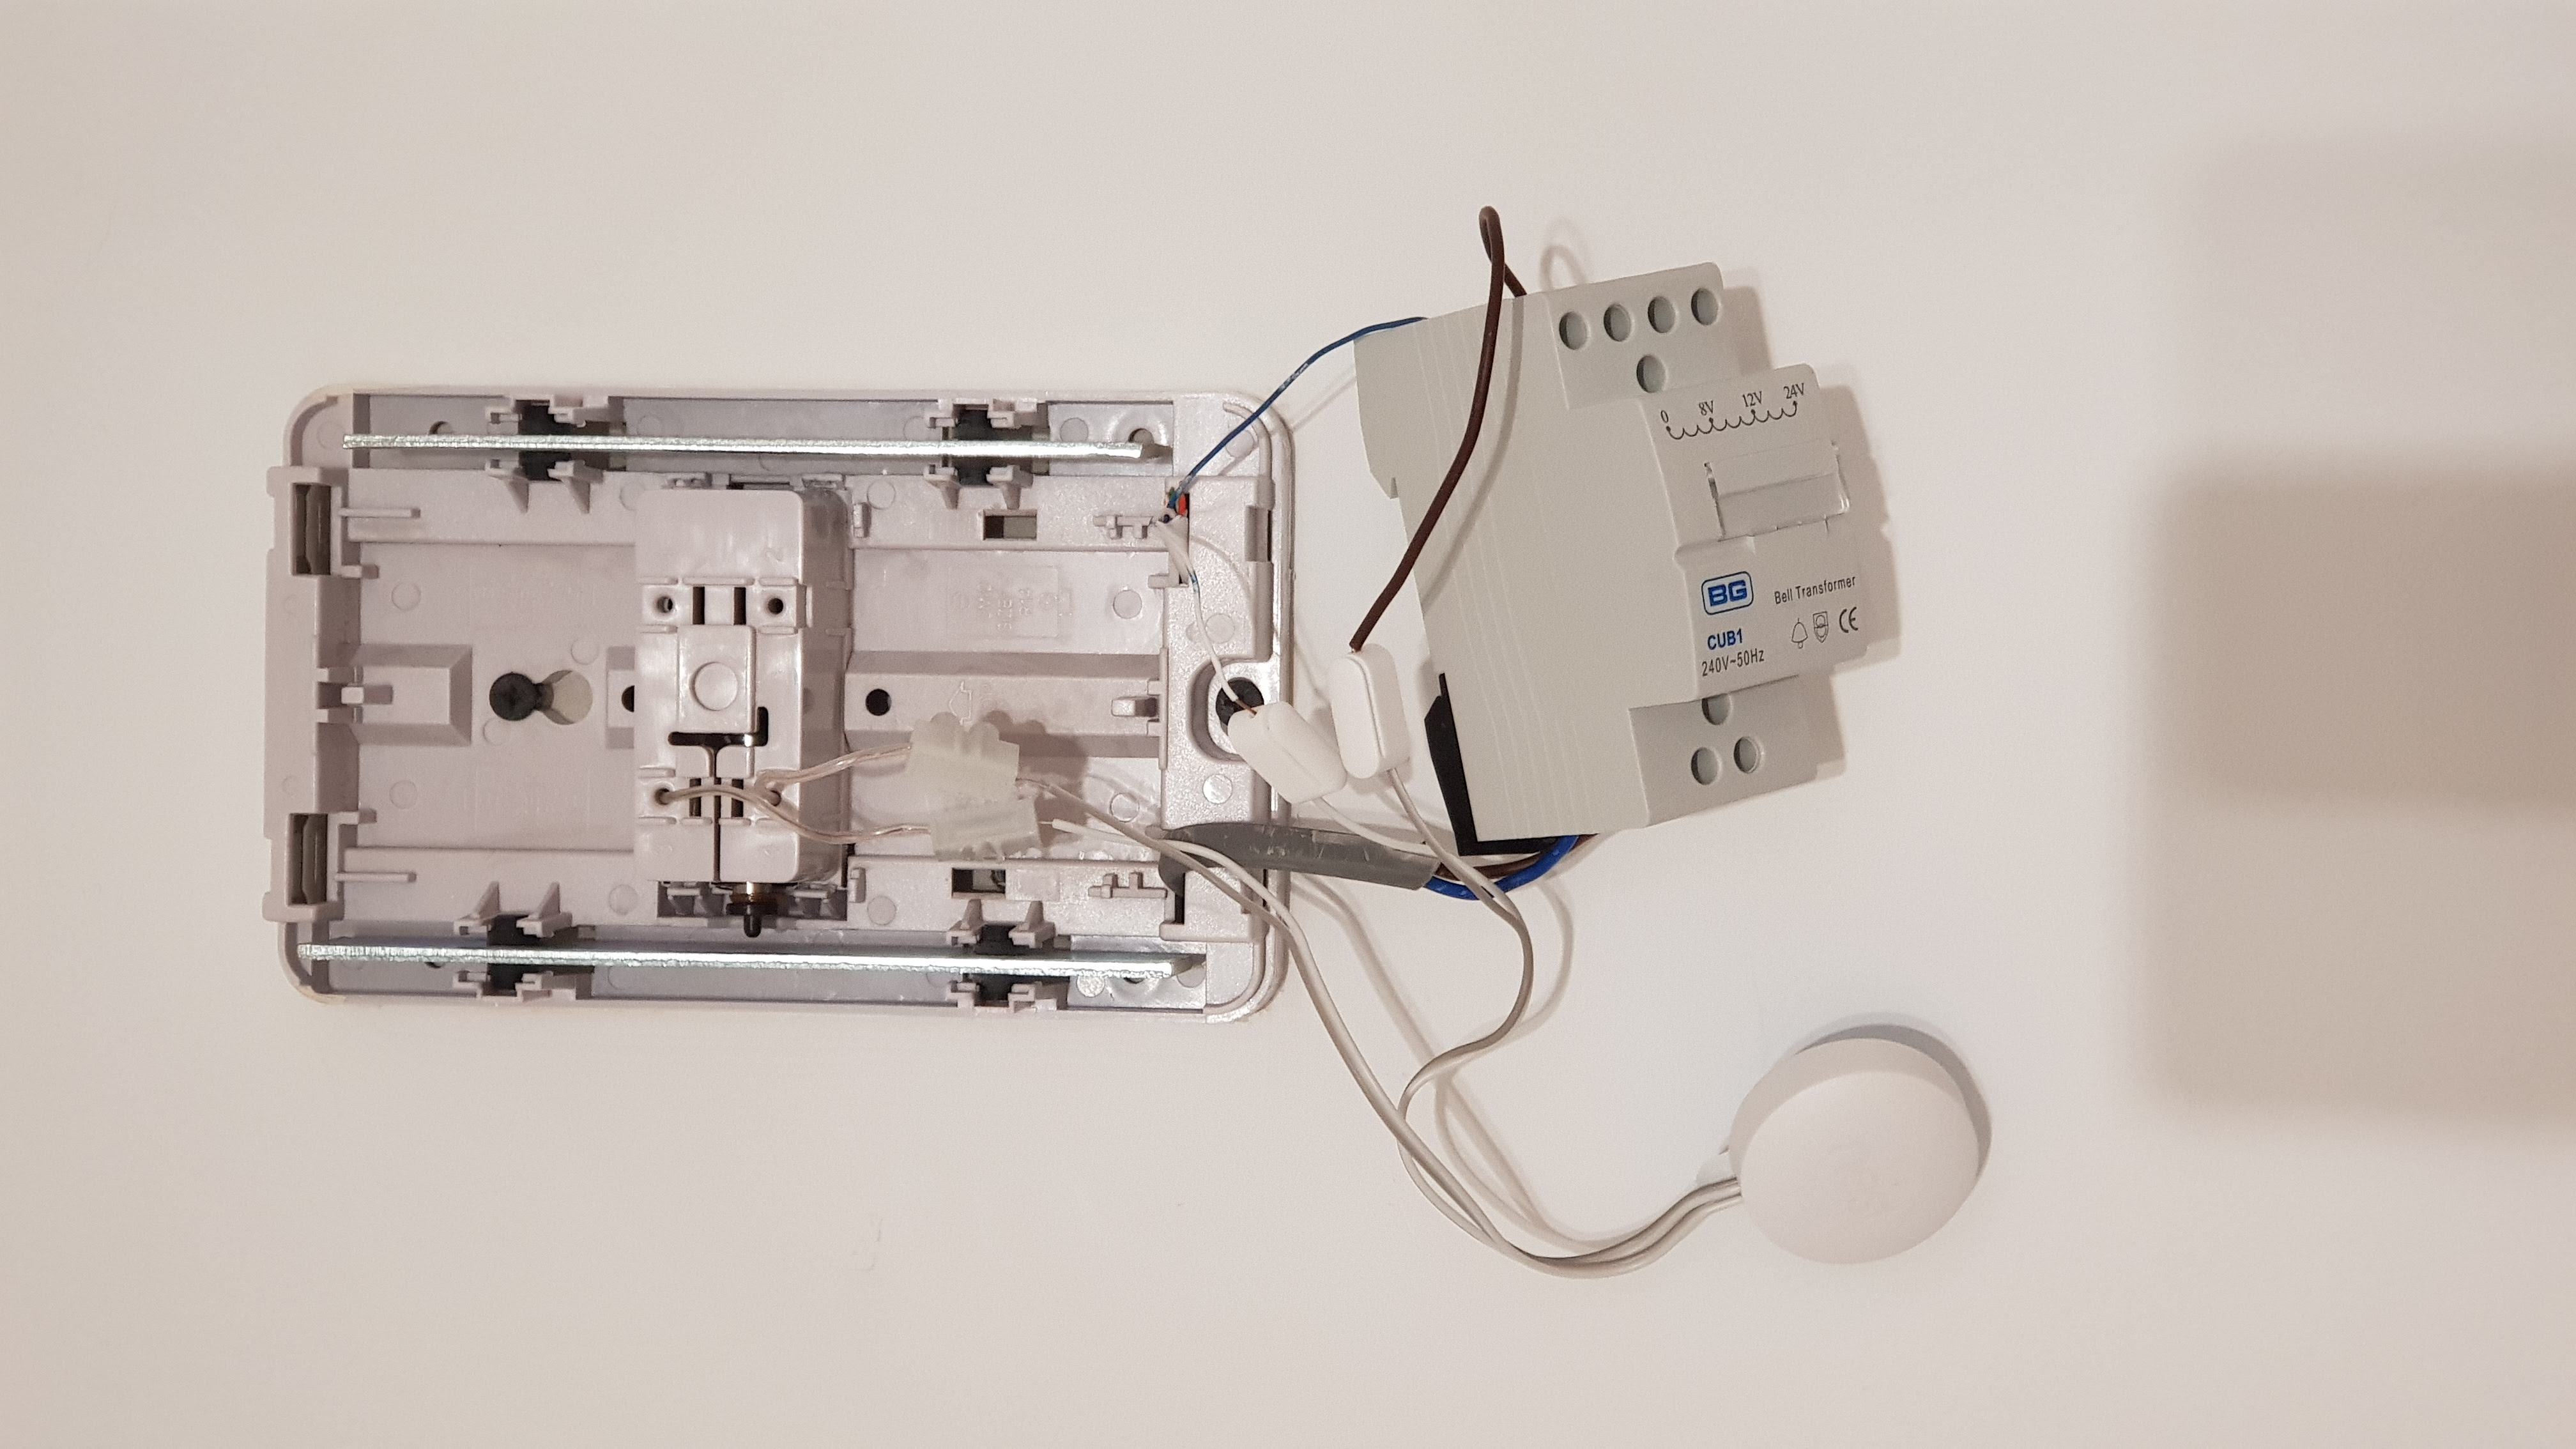
Here is my chime box opened up.

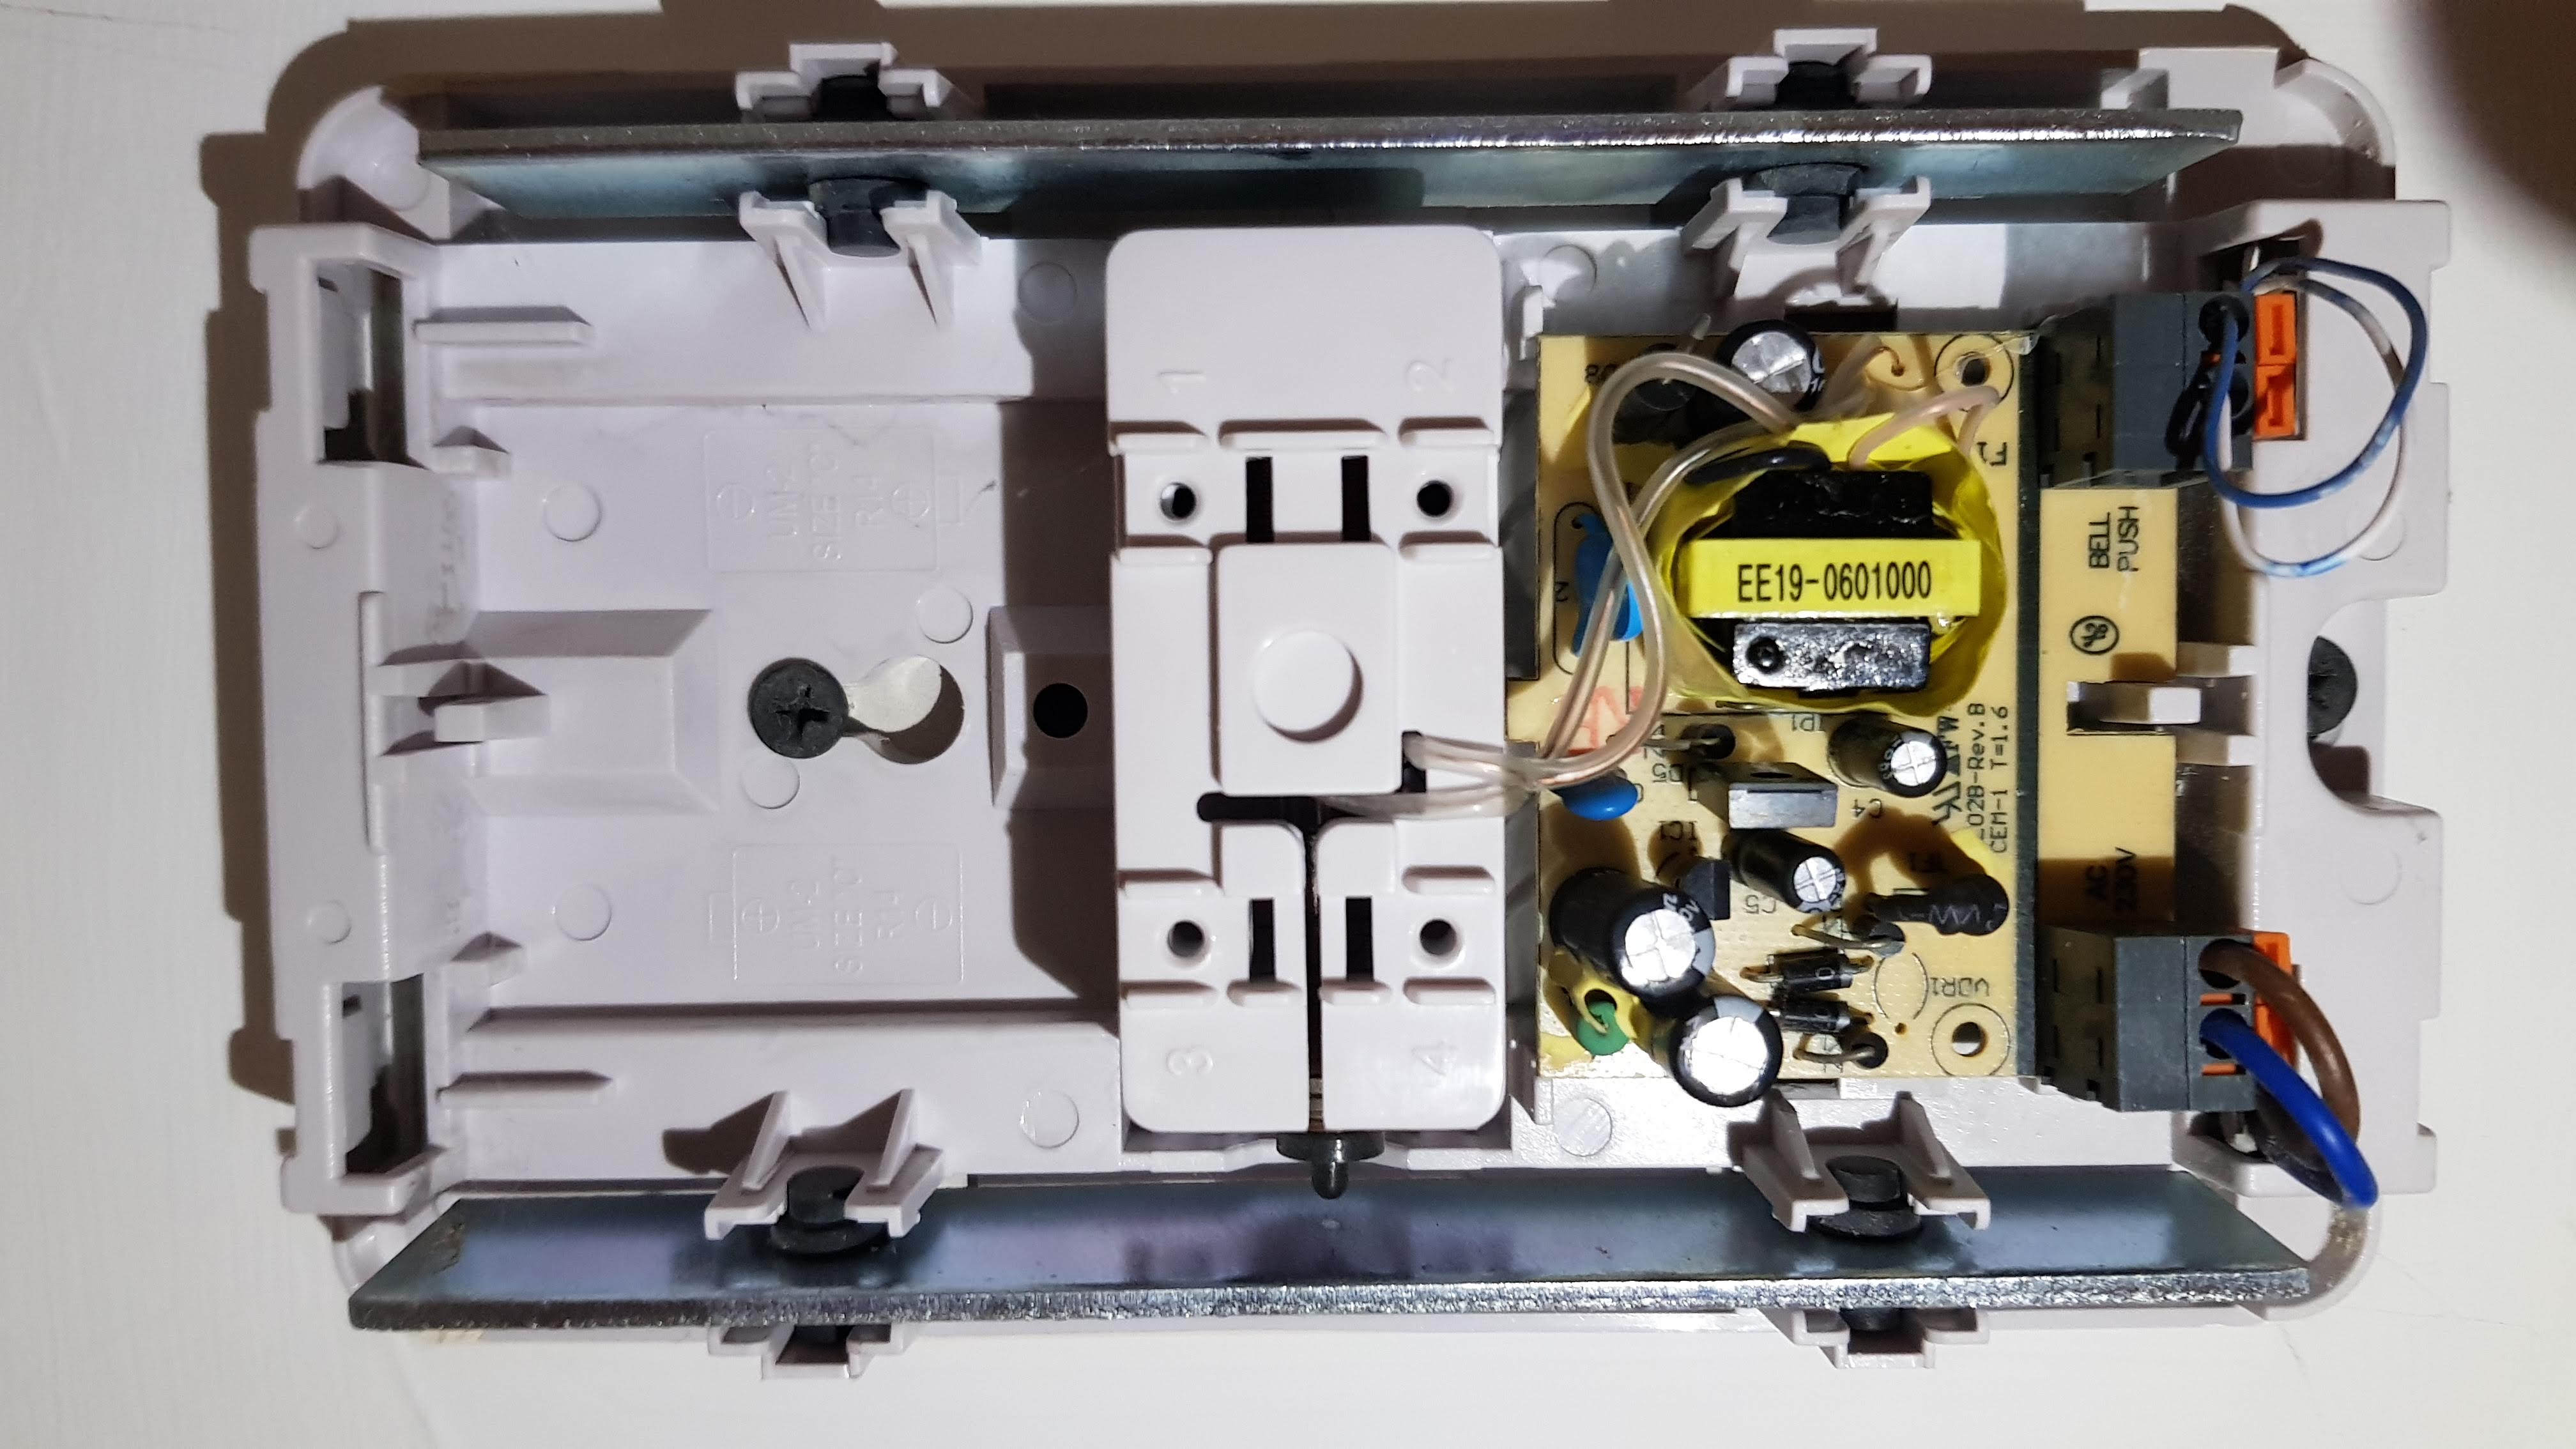
First obviously turn off electricity to your door chime at your consumer unit. I then unplugged the two blocks of wires with the left block blue and brown being the mains voltage supply, and the right block white and blue thinner wires that go to the door bell itself. I removed the chime box from the wall so it was easier to work with wiring it up.
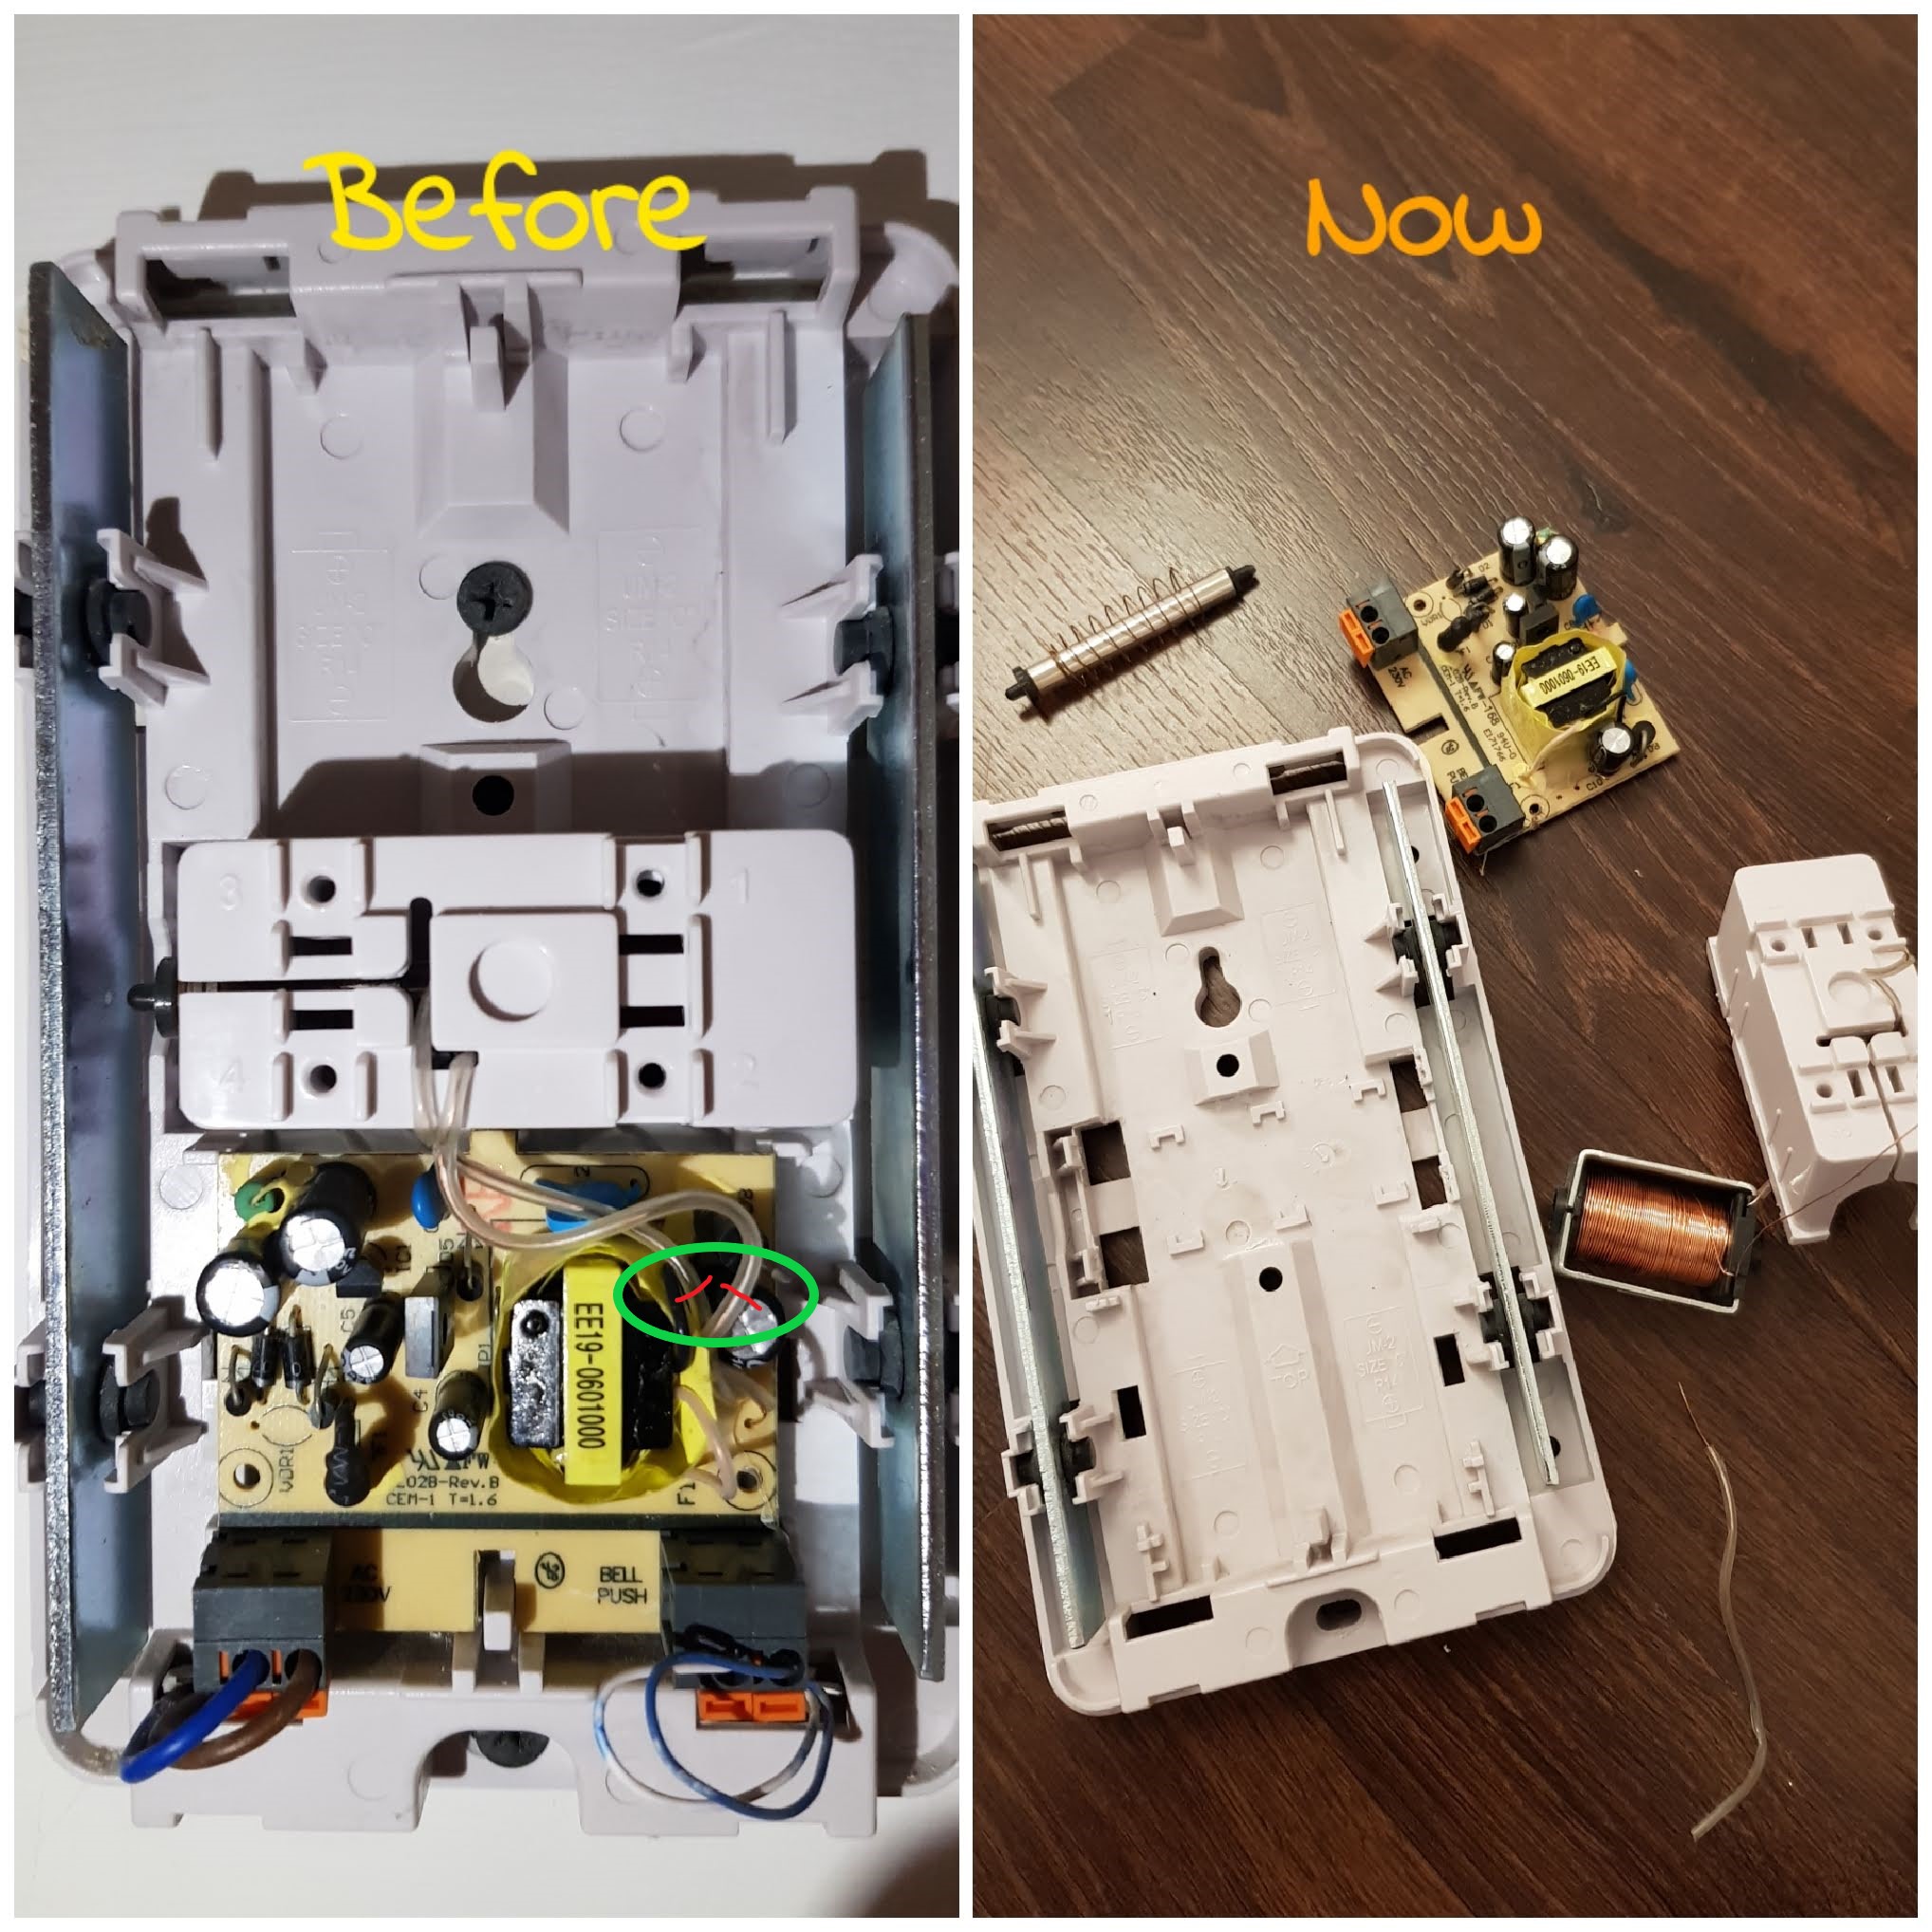
What is needed are the two coming out of the solenoid, i.e. the hammer to the chime, mines were covered in a plastic see through sheath. You need to keep these 2 wires connected to the solenoid so you have to cut them off as close to the circuit board as possible so that you retain maximum length on the wiring. I had troubles with the wiring in that one of them snapped off the solenoid, so I had to dismantle to see how I could salvage but luckily it was just coil wiring so there was plenty. The hardest part was actually trying to pry off the cover to the solenoid, it took almost an hour!
Where to cut the wires highlighted in red and me dismantling the solenoid
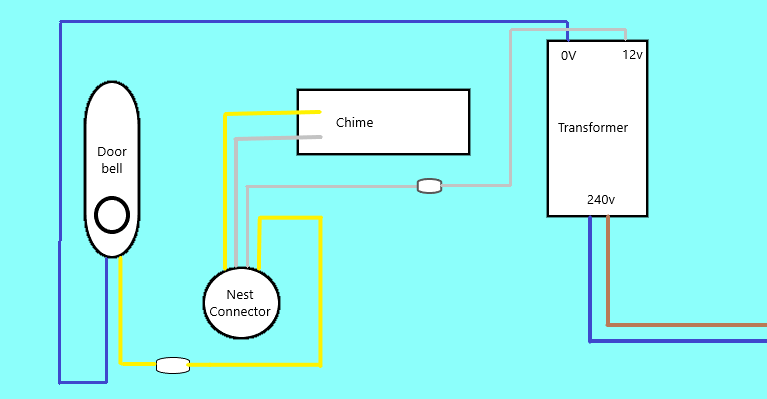
And here is the wiring diagram for my installation, note the yellow wire represents white.
I did a little test with the wiring before I actually installed the Nest doorbell to the outside. I installed the app and started doing the setup to make sure the wiring was ok.
After I was happy with the wiring, I then wired the Nest doorbell to my existing bell wires outside. It doesn’t matter which way around the two wires go here according to Nest’s video instructions.
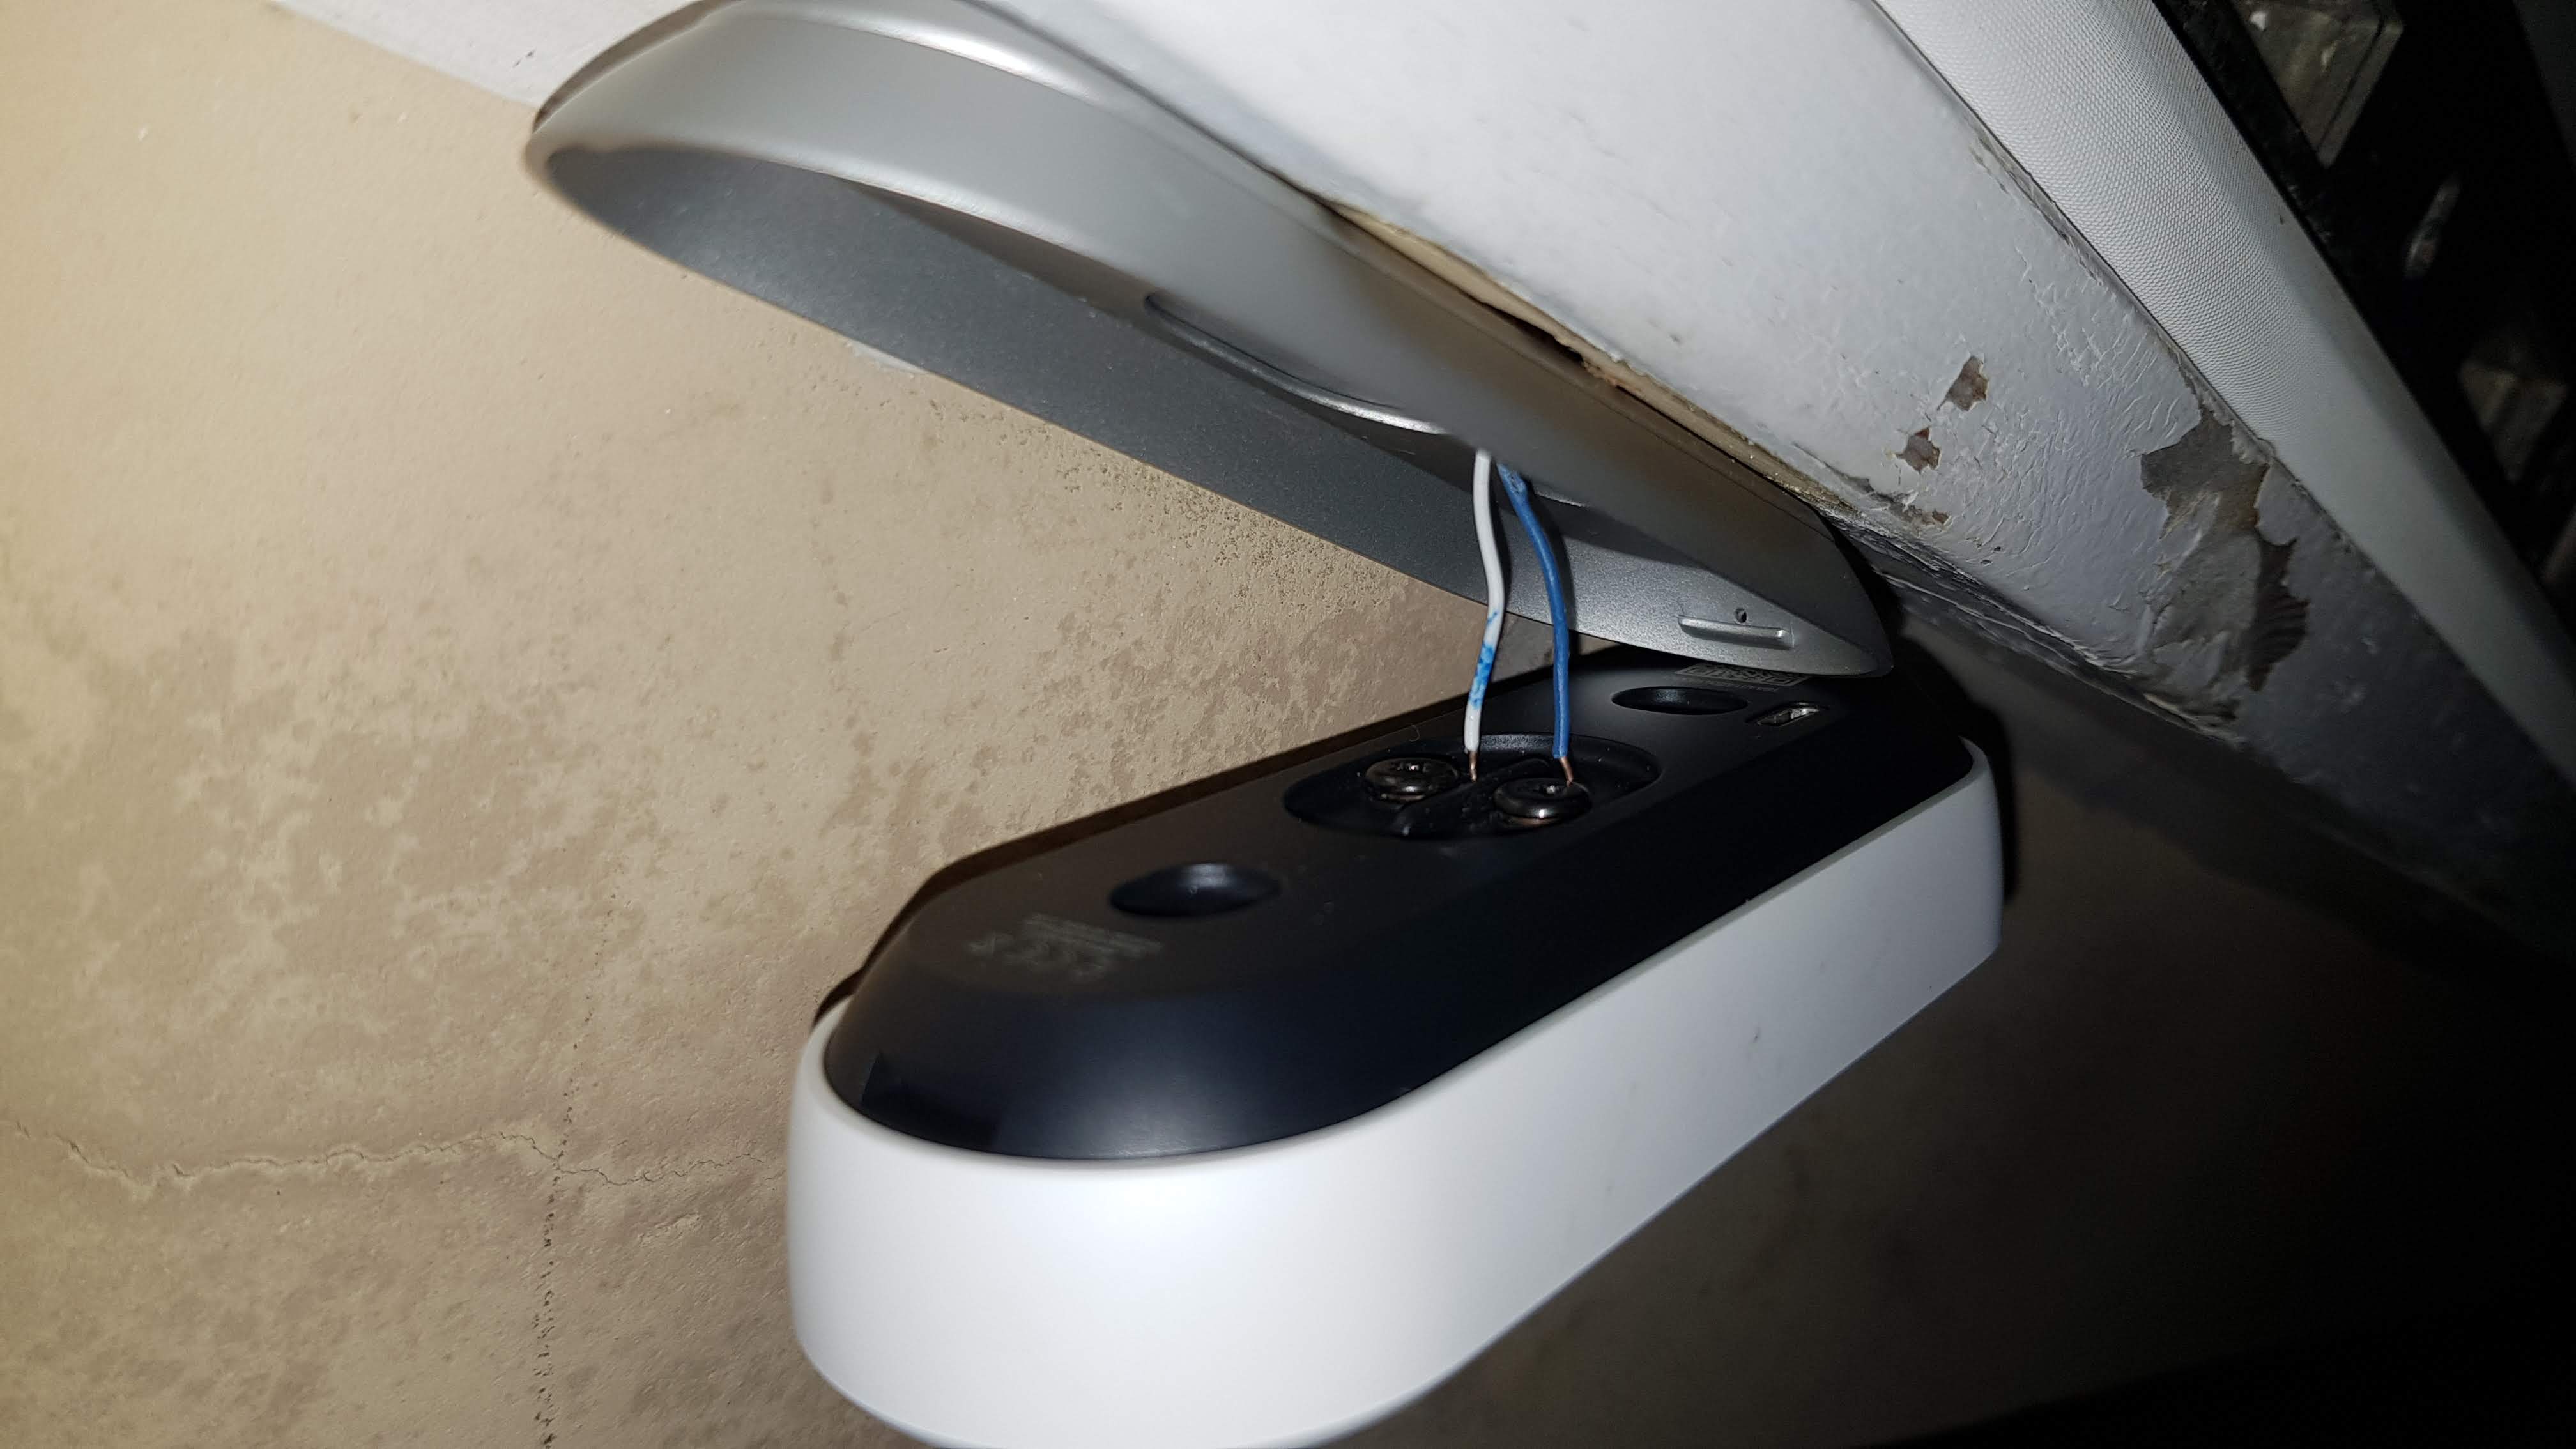
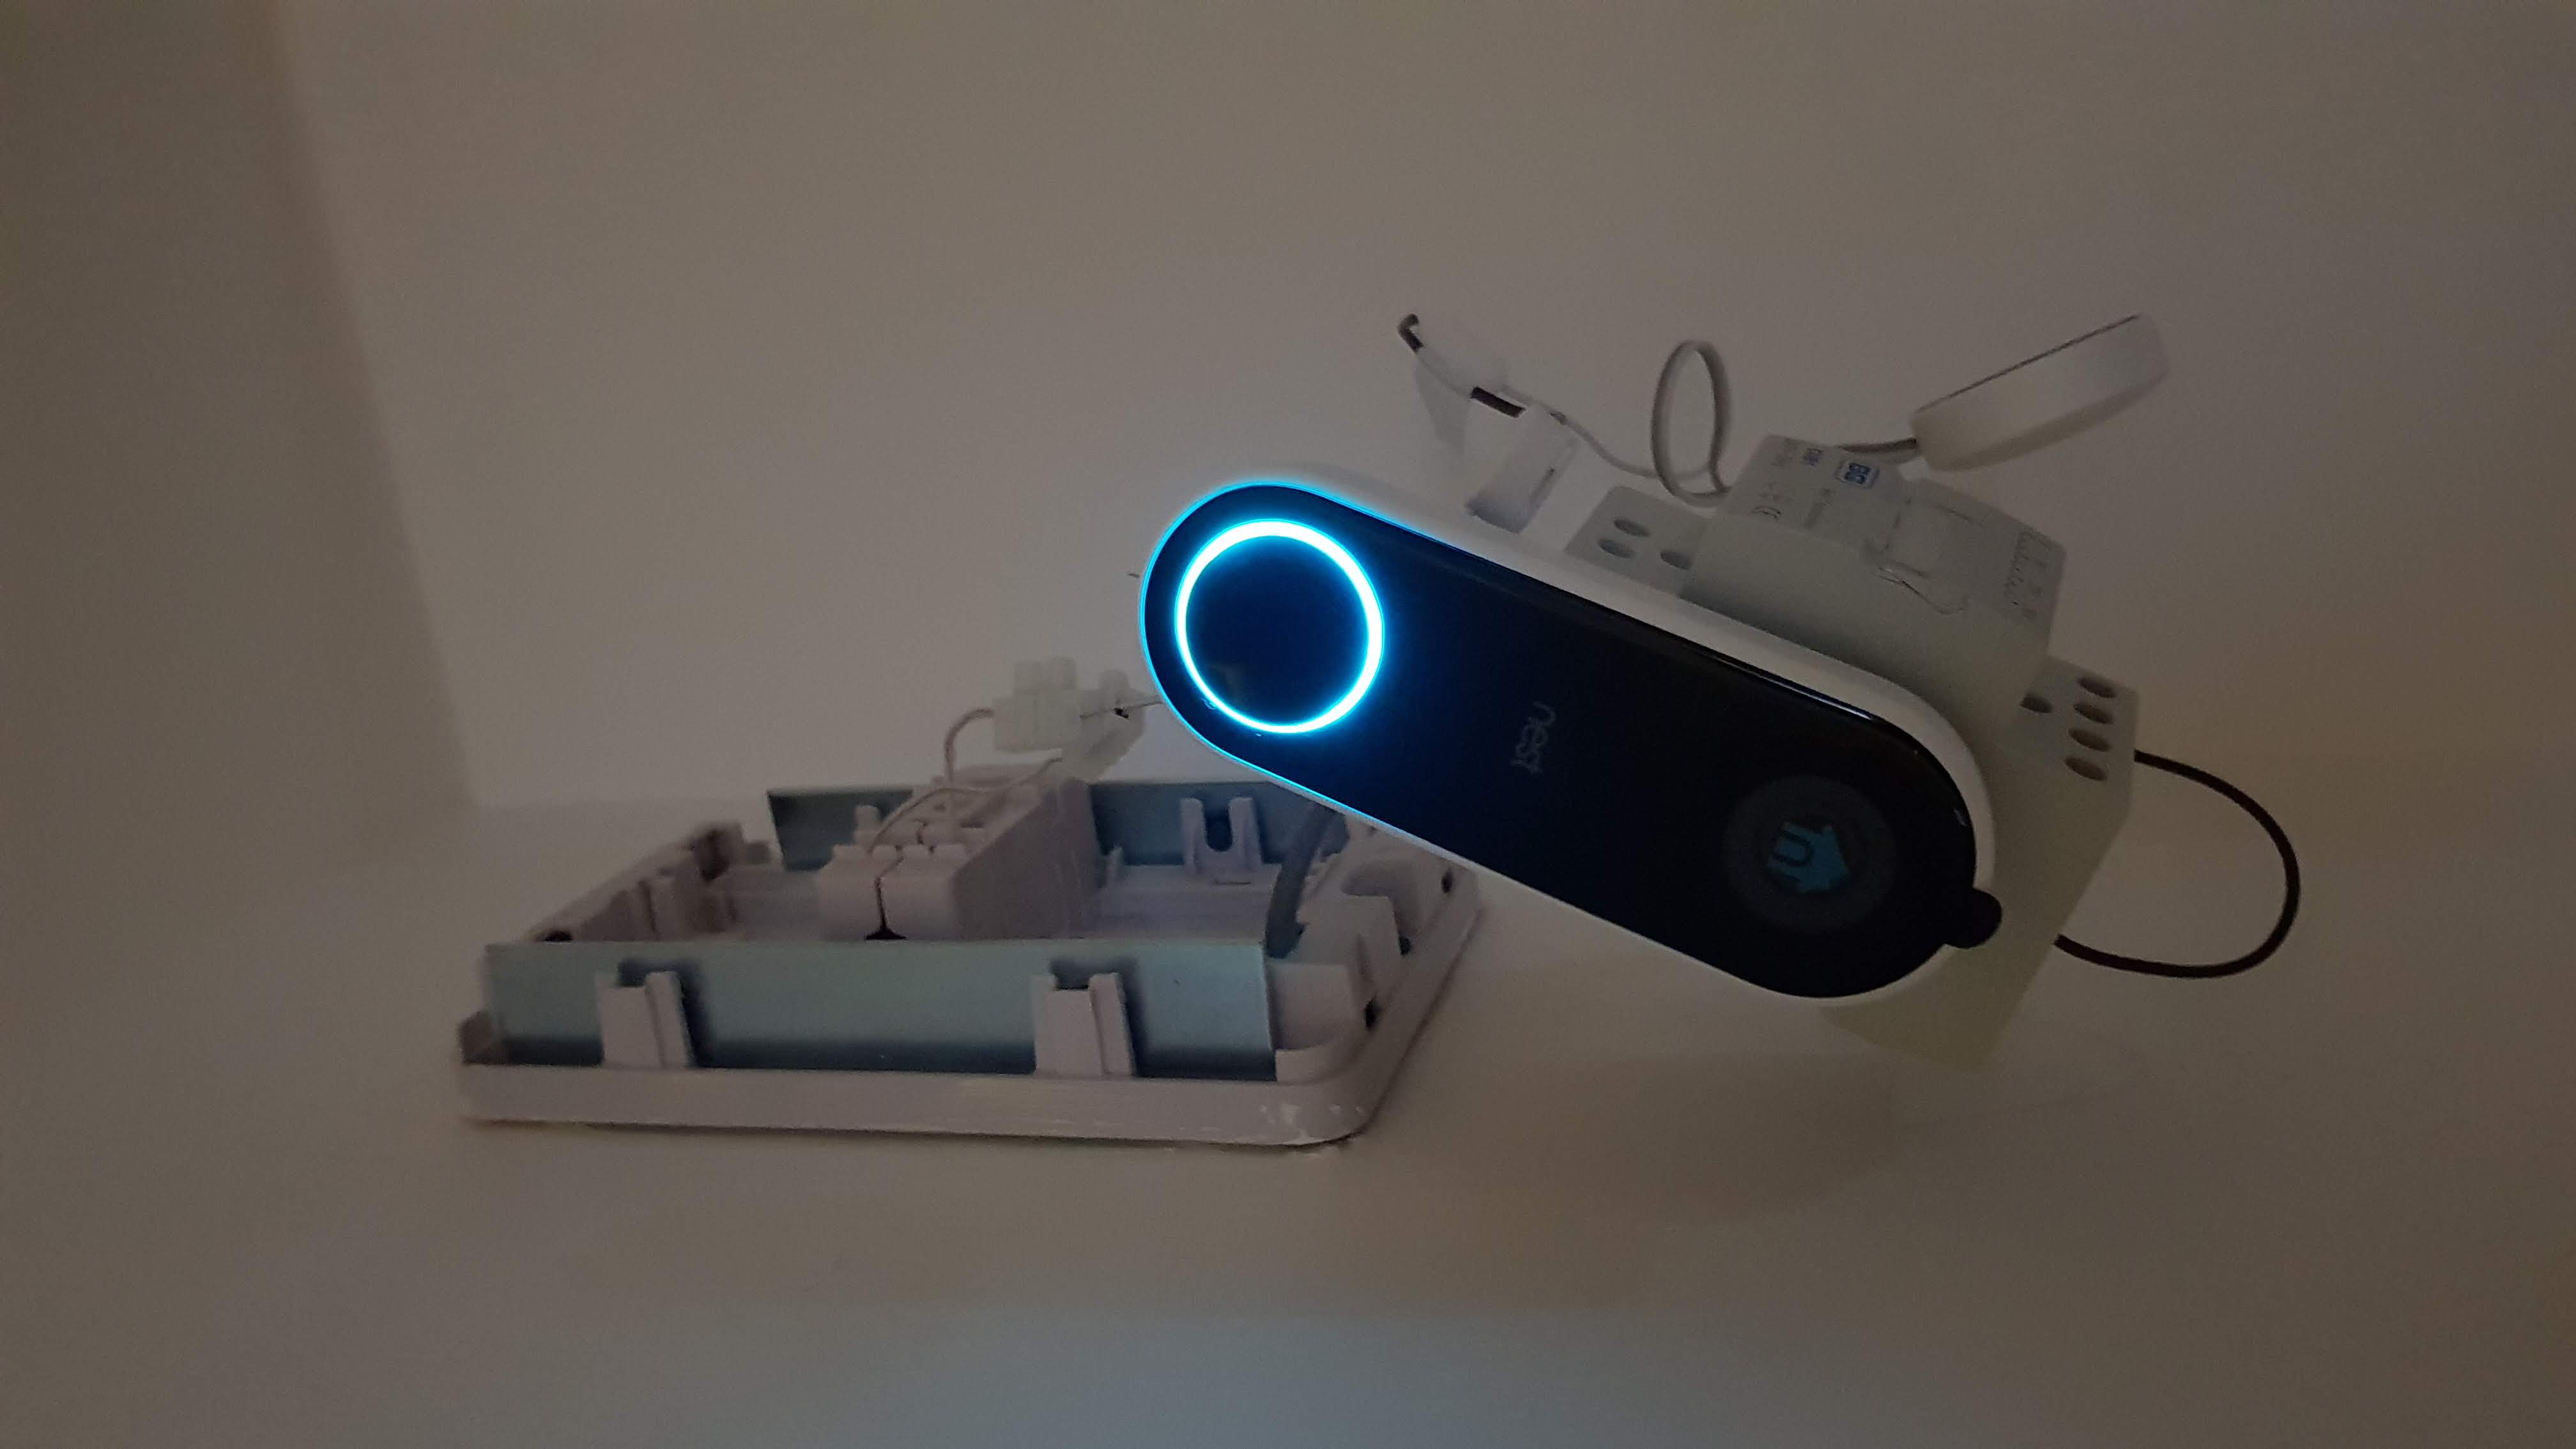
Wired up but as you can see, the new transformer is a monster so it will not fit into the chime box. I had to order an enclosure to make it tidy.
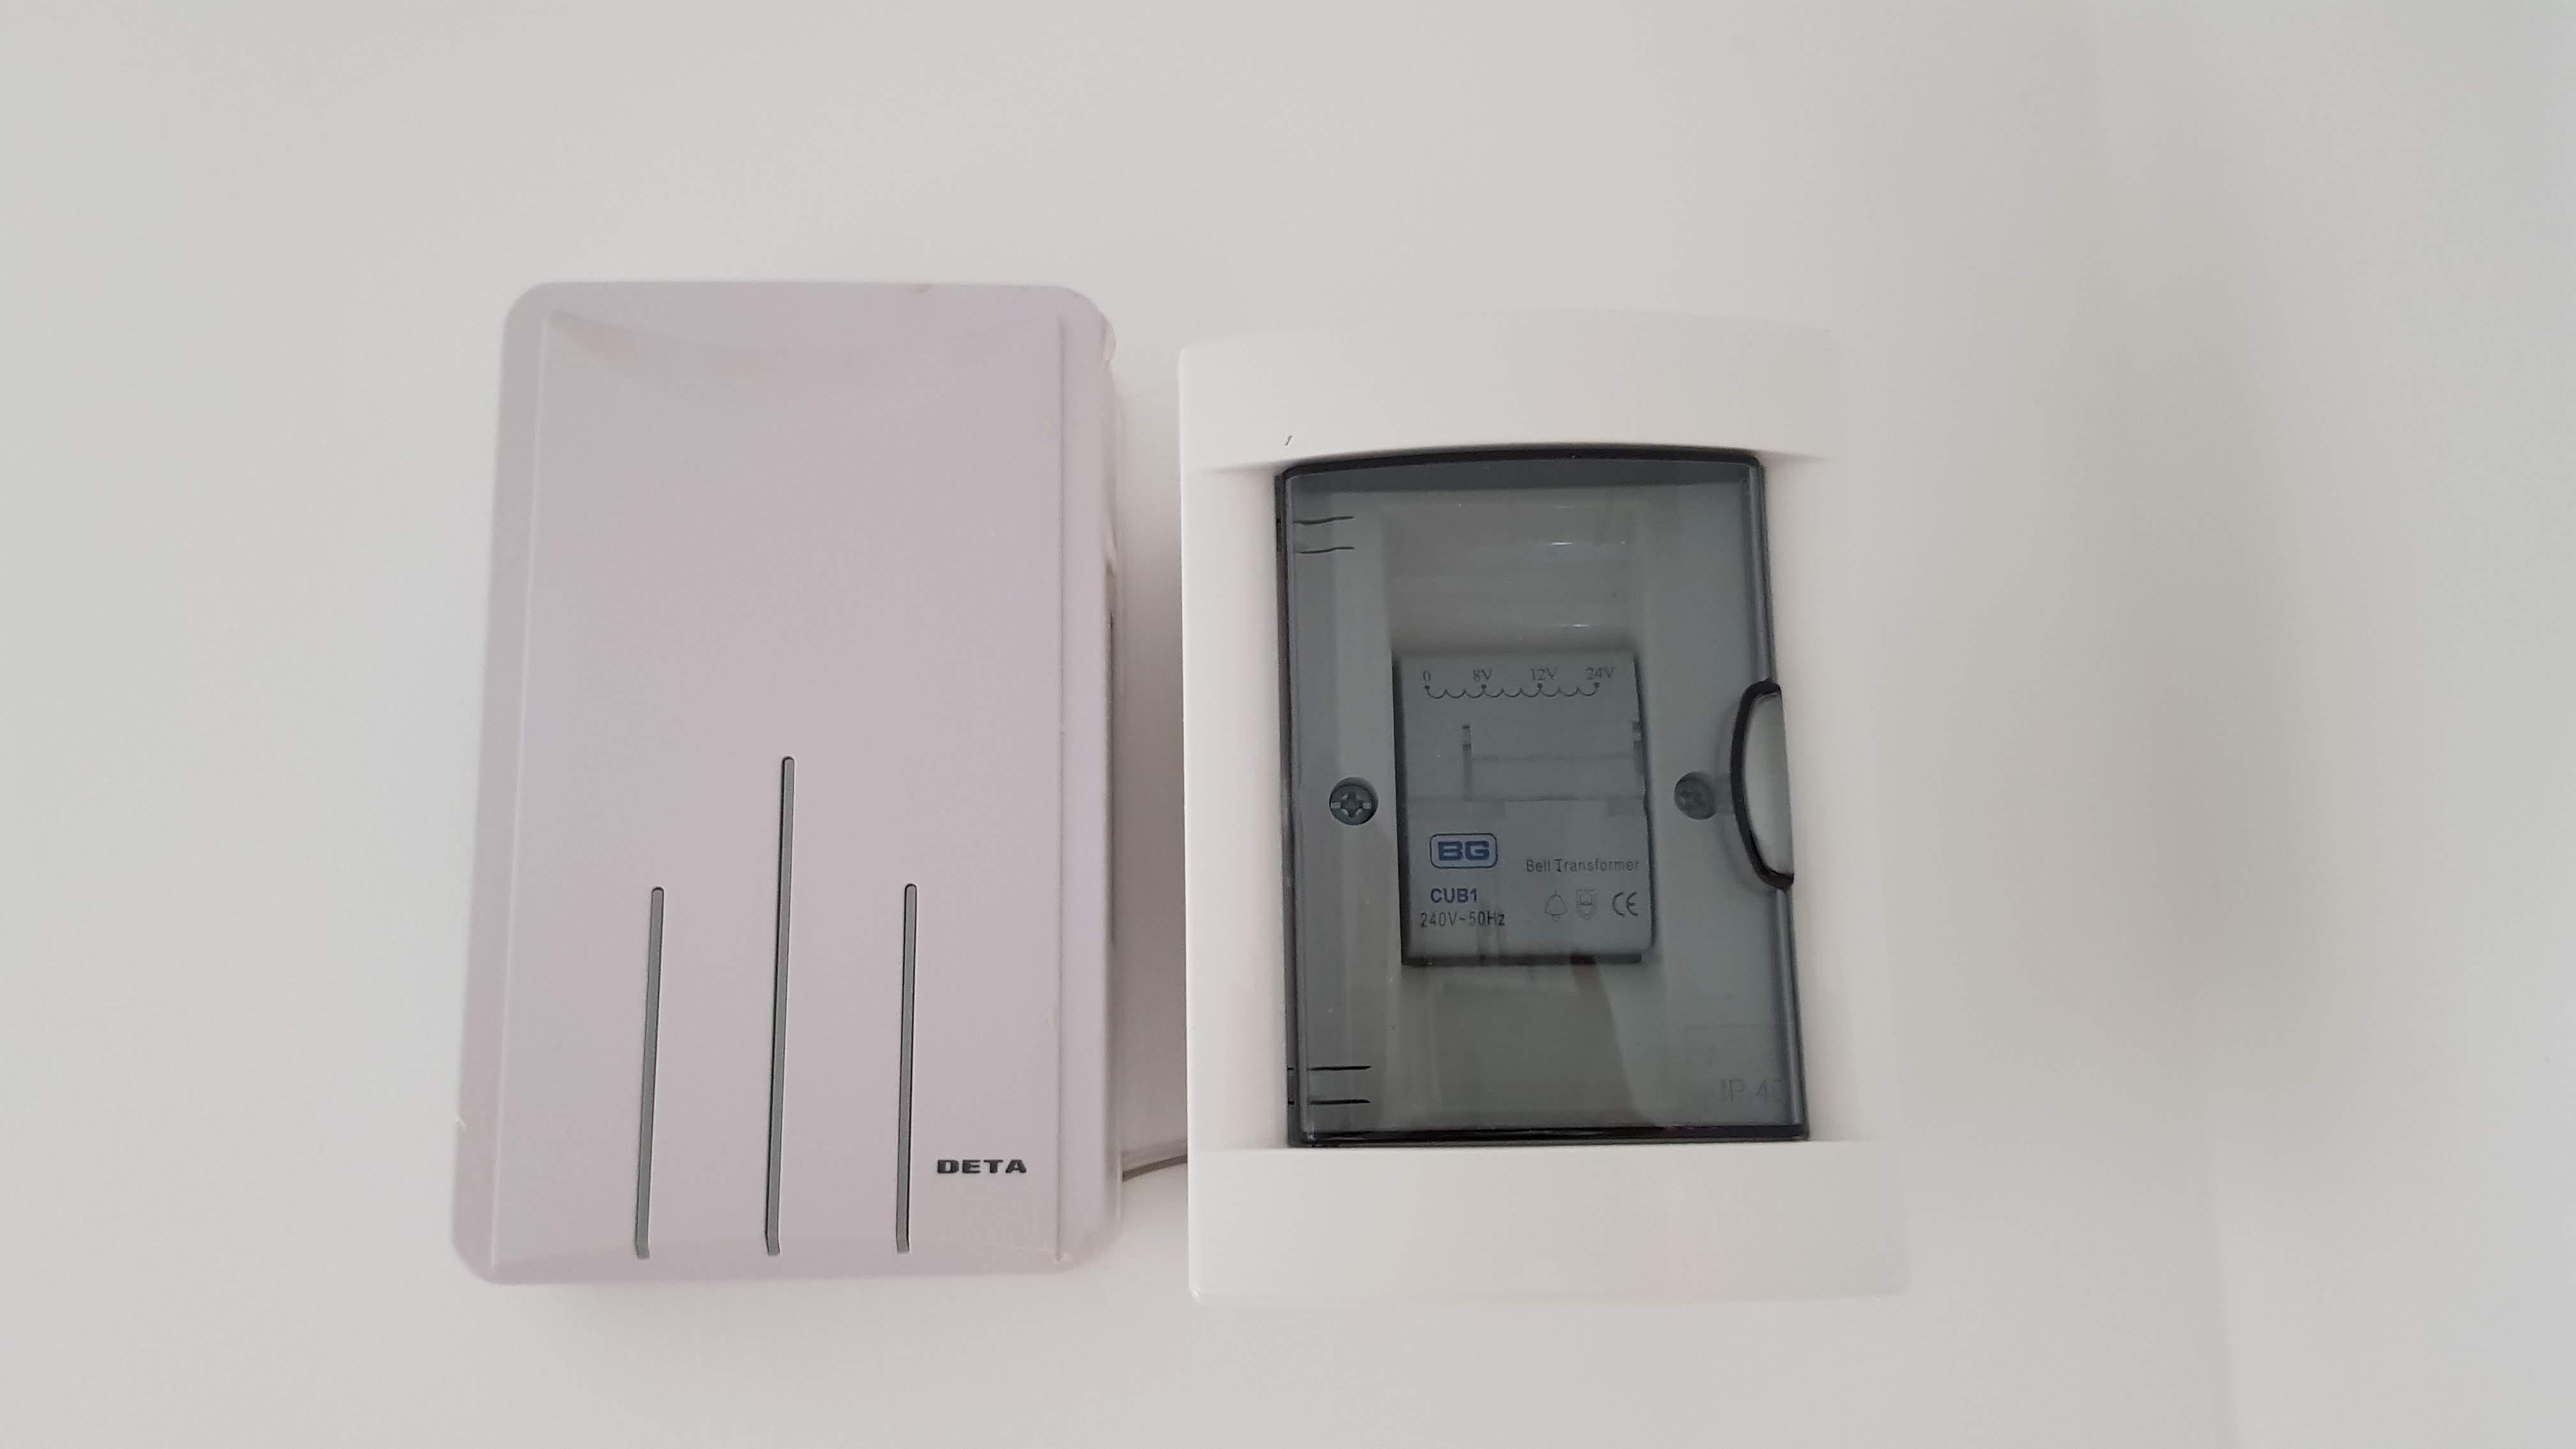
A week later with the new enclosure the installation is now looking decent.

Tided up wiring
Hope you find this useful. I have also uploaded a YouTube video in which I describe my installation too.


